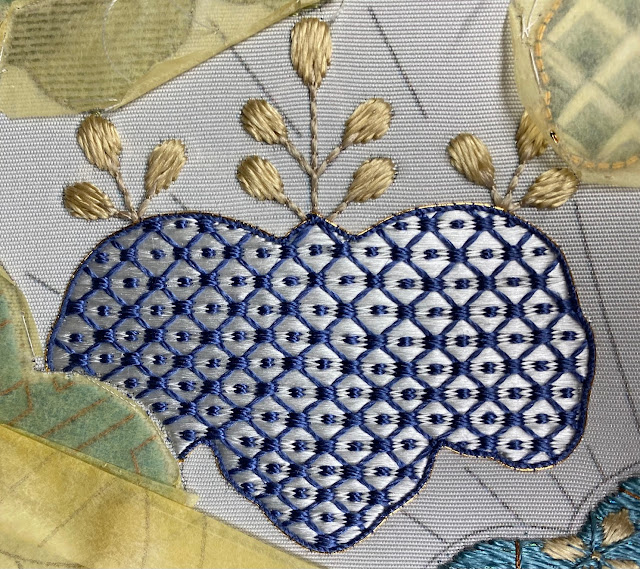
I have been working fast and furiously on my Hiogi piece over the last week because I'm soooo close! I had a Japanese embroidery lesson on Saturday that cleared up some of my final concerns and questions. And it got rather fun after that because I started some of the finishing steps, which meant I could begin removing the quilting paper that has been covering things up for months and months. The reveal has been very exciting!
My first step was to complete the two remaining leaf borders. For the tie-dye leaf, I planned to outline it in one strand of karayori thread and one strand of #4 copper. Karayori thread is essentially 6-->1T that is very tightly twisted, wrapped around bamboo, wet thoroughly, and then left to dry. This helps it maintain its tight twist. I will eventually do some posts about how to make karayori and katayori thread (because it's a whole process), but for now, here is my final karayori thread in dark periwinkle to match the tie-dye leaf:
You can see that it's a very even, tight twist. It's actually much thinner than some of my 4-->1T threads that have softer twists.
Anyway, I wound this thread around a koma and put one of my copper-wound komas alongside it. Then I couched the karayori and copper down as a pair, with the copper on the outside, using 1-->2T couching thread in the same color as the karayori:
I use a #2 couching needle for most of my couching because it's super thin, doesn't leave obvious holes in the fabric, and can go through several layers of stitching with ease. When I got to the center point at the top of my leaf, I ended my thread so I could get a sharper point there:
Then I began a new pair over the top of the last pair and started couching around the remainder of the leaf:
I stopped when I got to the cloud because the edge along the cloud is cut off and so doesn't get a border:
Then I used my #11 sinking needle to sink the karayori and then the copper:
And here is that leaf complete!
I really love the copper along the edge. It helps transition to the light wheat-colored blossoms above the leaf and also warms up that dark periwinkle color a bit. The border just gives this such a nice, clean, finished appearance.
Now technically, I was supposed to do the same kind of border for my woven effect leaf. But that leaf already has so much wheat-colored gold in it that I didn't want to do a karayori in the same color and another copper thread. It just felt like too much of the same color. So instead, I opted to do a border in my #1 iridescent green metal thread, which is what I used to create the woven appearance. I just wanted that color to come out a bit more.
So I used my teal couching silk to couch down a half-hitched pair of the #1 iridescent green, starting at the leaf's point and parking my needle in my koma to keep the line taut:
As with the other leaf, I was couching this down in about 2mm intervals, but I had to do extra stitches to go around some of the curves:
I ended it at the point, overlapping the pair where I started. And here it is complete:
I really like how the green on the border helps highlight the vertical rows of green that are half-hidden by the horizontal stitches. I think it just ties it all together.
There are two other leaves, but those ones were already complete. One is the 3D-effect leaf, which I did a border on immediately after I finished it in a pair of #4 copper threads. The other is the fuzzy effect leaf, but that technique doesn't get a border. So all four of my leaves are now complete! It was so fun to take the quilting paper off these leaves and see them for the first time in ages. This piece has been very tantalizing because I haven't been able to see the whole thing for so long.
I just have the rib lines, cloud borders, and fan outline left to do! It's so thrilling to finally see it coming together. 😊


Comments
Post a Comment