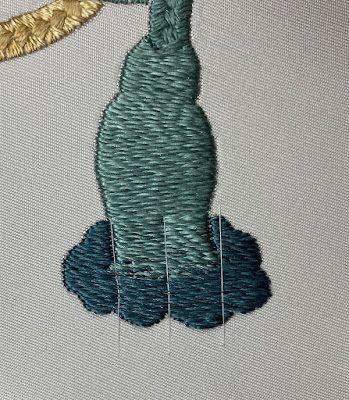
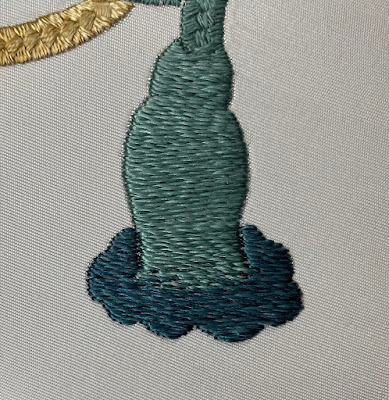
At my Japanese embroidery lessons this past weekend, I finally learned how to finish off my tassels. I had previously done the foundations for them; this is what the teal one looked like:
To complete the blending in the long-and-short-stitch area, I had to do some short-stitch holding using a 1-->1T thread that blended both the light and dark teals (1/4 of each color undertwisted together for each half strand, and then both halves overtwisted together).
Since this short-stitch holding was more about blending than securing the foundation, I didn't do any guide threads. I just placed the stitches where I felt like they belonged:
It's a subtle effect, but I do think it helps blend the two colors together a bit more.
Next, I had to do short-stitch holding over the dark teal part of the lower tassel because the stitches were so long. This time, I did use some silk couching thread to put in 1cm guidelines for myself and then used dark teal 1-->2T thread to do the short-stitch holding:
Here's how it looked after I removed the guide threads:
I think you can just barely see the thin diagonal stitches that are holding down my foundation.
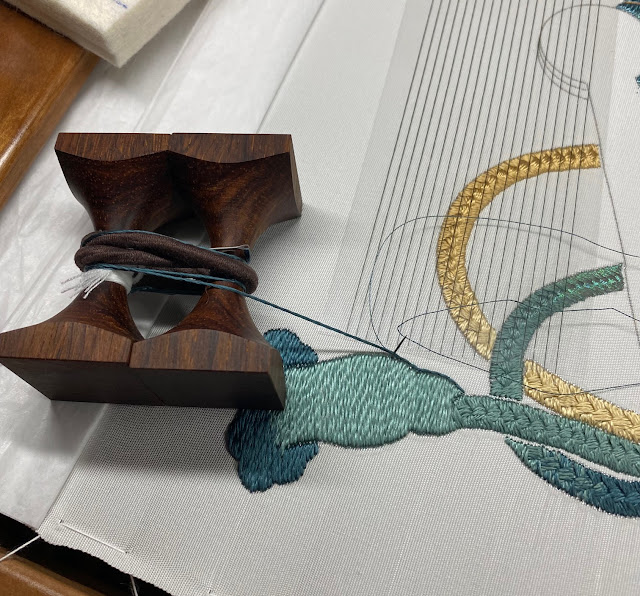
After this step, I made some smooth karayori thread in the dark teal (4-->1TT) so I could start adding the lines that define the tassel. I started with the exterior threads down each edge and parked the needle in a hair tie wrapped around my koma to keep the line taut while I couched it down at 2.5mm intervals:
Here are the two exterior threads complete:
The center is supposed to have six additional lines going down it. I started with the two center ones and tried to just eyeball where to place them:
They're actually just a little left of center, which was an accident, but it turned out okay in the end.
Next, I added the two right vertical lines:
And then I finished off the last two vertical lines on the left:
Although it's a little squinchy on the left side at the top, I kind of liked how it turned out for two reasons: First, the vertical lines at the bottom are staggered in length, and the one second from the left is supposed to end a little higher, which it does. But because the space is a little tighter at the top, the space at the bottom is about equal between the lines that descend all the way into the ruffle, and I rather liked that. Second, the closer lines on the left side make that side feel a little more shadowy, which I think it would be, with the cords and the fan directly above it. The right side is more open, so more light would naturally fall on it.
Anyway, to finish the top part of the tassel, I then added the curved line over the vertical lines (about a third of the way from the top of the tassel), where the tassel is gathered in:
After this, it was time to finish off the base of the tassel by adding a bunch of Japanese knots in the contrasting light teal color. I did the ones closer to the edge in a 4-->1 S-twist, while the ones more toward the center are done slightly smaller in a 3-->1 S-twist:
I still have the tassel on the left side to finish like this one, but I feel like I've made so much progress!
During my JE lessons this weekend, I also worked on learning how to do hanabishi flowers. These are deceptively tricky little flowers to stitch, and so far, I've just done three practice ones on my end cloth. But my last one was successful enough that I feel it's time to attempt superimposing them over my third and final cloud. But I will need to summon up a great deal of energy and ambition before I attempt that, as they're pretty complicated — so that's a task for another weekend.


Comments
Post a Comment