As promised, today I am going to show you the details of my first embroidered box (my second fabric box). I designed this one myself to have a little tray with a few compartments in it. And boy was it fiddly! I had to cut new mat board pieces about four times because my measurements were off.
Typically, when measuring inner and outer pieces of mat board, you add about 2mm to the size of each finished piece to account for the fabric once it's been attached. But this didn't turn out to be sufficient, and I kept having to size up my outer pieces. I'll show you what happened and explain why. This will be a pretty broad overview of the process, but if you want more details about creating a basic fabric box, please see my earlier post, Fabric Box.
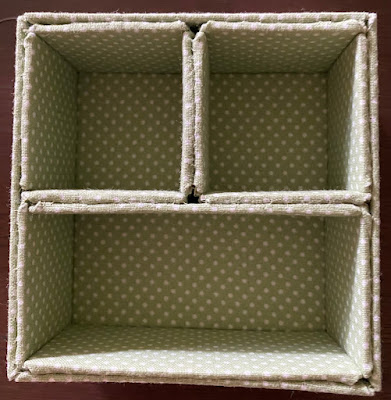
I started by creating the very tiny little compartments that would make up the inner tray and covered them in a sage green polka dot fabric, which I think is just darling:
After I created these inner compartments, it became apparent they wouldn't fit in the outer box I had cut for the tray, so I had to cut new, slightly larger pieces for the outer box, which I then put together and stitched around these little compartments:
It still wasn't a flawless fit. There was a bit too much of a gap between the two smaller compartments, but once I had ladder stitched the top edges together, it was less noticeable:
And here is a side view of the completed tray:
I think it's pretty cute. At this stage, I realized that the inner pieces I'd cut for the main box wouldn't fit around the tray anymore. Sigh. That fabric really adds more thickness than you think it will. So I ended up using the outer pieces I'd cut for the main box as the inner pieces, since they were the right size. I also added a padded wall to the lower half of each side of the inner box to act as a floor support for the tray:
You can see how those floor supports will provide just a slight lip to hold the tray on. Once I completed the inner box, I cut new pieces for the outer box, covered them in the lovely floral fabric and then stitched them around the inner box:
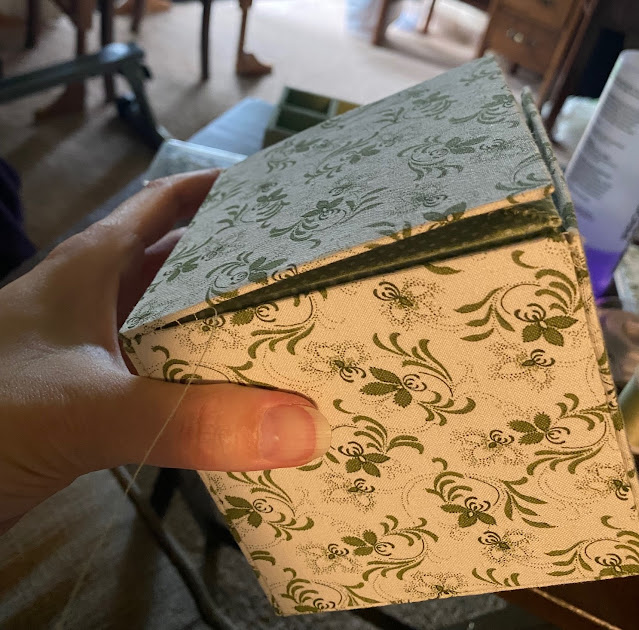
And here is the main box, with everything done except the top edges:
Everything weirdly looks mint green in this picture, but it's definitely more sage in real life. Regardless, I think these two fabrics go so well together!
Anyway, after I ladder stitched the top edges together, it was time to construct the lid. I had already embroidered my thread painted flower for the lid (see this post for more details on that), but I added some French knot corners to help fill up the white space and then mounted it to my mat board:
Since this was an embroidered piece and I wanted to line it up fairly neatly, I pinned the edges and laced the back to mount it, rather than just using double-sided tape:
Then I attached the inner lid, also in the green floral fabric, and sewed the whole thing onto the box:
That's the inside of it, alongside the tray. And here is how it looks with the little tray settled neatly in place:
I do think the interior is really sweet. And frankly, it seems like a miracle that it fits together so well, given how many struggles I had with it. 😂 But without further ado, here is the completed box, with the design on the lid visible:
I love the lid. I think it adds a nice, elegant touch. And the box looks really pretty overall. Everything doesn't fit together quite as perfectly as it did on my first fabric box, but it fits pretty well. And this one was really much more complicated with that little tray in it.
For myself, I'm happy with it and really proud that I was able to make it work. But for anyone wanting to try something like this, allow me to implore you not to cut all your pieces at once. Start with any inner compartments or trays first and work your way out. That way if the fabric takes up more room than expected (which it almost certainly will), you can just size everything else up a bit. It will make the project way less tedious and frustrating.
Even though I love how it turned out, this project has thoroughly exhausted my desire to create embroidered or fabric boxes of any kind for the moment. 😂 So I think I will take a break from these and move on to something else.


Comments
Post a Comment